
Introduction
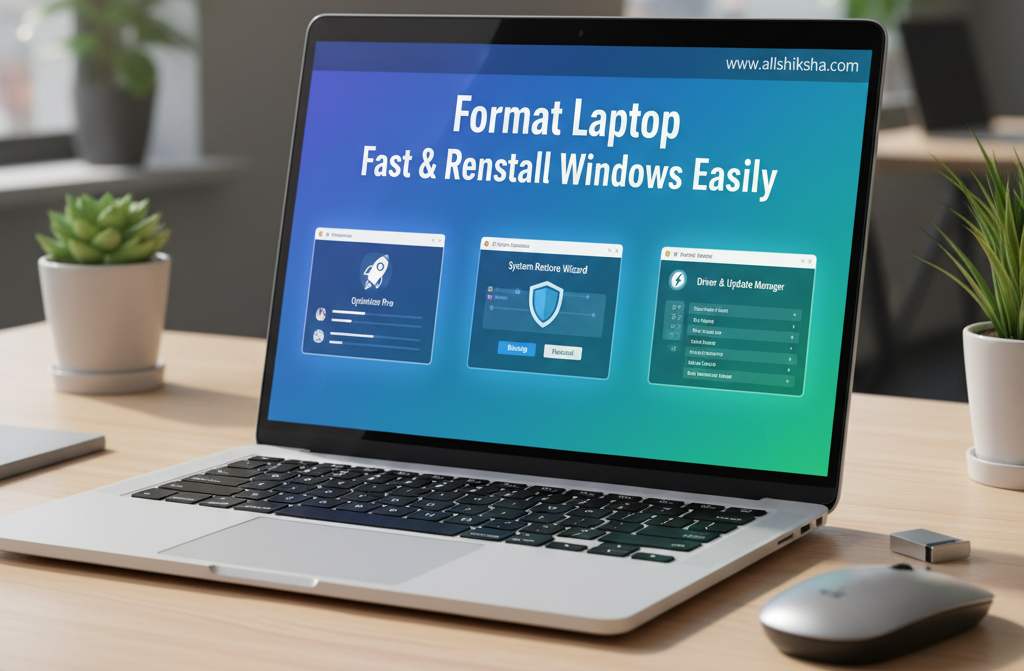
Format Laptop Fast & Reinstall Windows Easily — when your laptop becomes slow, unresponsive, or overloaded with unnecessary files, this process can bring it back to life. Over time, system clutter, software errors, and malware can significantly affect your laptop’s performance. Performing a clean Windows installation helps eliminate these issues completely and restores your device to peak condition.
In this detailed step-by-step guide, you’ll learn exactly how to format your laptop and reinstall Windows safely and efficiently — even if you’ve never done it before.
Why You Should Format Your Laptop
Over time, every laptop begins to lose its original performance due to constant software installations, system updates, background programs, and temporary files. You might notice slower boot times, frequent lag, or unexpected crashes. In such cases, formatting your laptop and reinstalling Windows can make a remarkable difference.
A clean Windows installation is like giving your laptop a complete reset. It removes hidden issues that gradually build up and restores your system to its optimal condition. Here are some key reasons why formatting your laptop is beneficial:
1. Removes Viruses, Malware, and Corrupted Files
Even with antivirus protection, some malware and corrupted files can hide deep within your system. Over time, these can damage important files, cause errors, and reduce performance. Formatting your laptop completely wipes out all harmful elements, giving you a clean and virus-free start.
2. Improves System Speed and Stability
As you install and uninstall programs, residual files and registry entries can slow down your system. A fresh Windows installation clears all unnecessary data and background clutter, allowing your laptop to run faster and more efficiently. Applications open quicker, and overall responsiveness improves noticeably.
3. Frees Up Valuable Storage Space
Temporary files, software leftovers, cache data, and old updates can take up a large portion of your drive without you realizing it. Formatting removes these unnecessary files entirely, freeing up valuable storage space that can be used for important work and personal data.
4. Fixes Software-Related Issues
If your laptop frequently crashes, freezes, or shows error messages, these are often signs of corrupted system files or software conflicts. Reinstalling Windows replaces all damaged files with fresh ones, ensuring your operating system works smoothly without recurring glitches or compatibility problems.
5. Provides a Fresh and Organized Start
After months or years of use, laptops often become cluttered with unused apps, drivers, and settings. A clean format gives you the opportunity to start over — installing only the programs you actually need and configuring your laptop the way you want. It’s like having a brand-new device without buying one.
6. Enhances Overall Security and Performance
Outdated software, corrupted registries, and hidden malware can create security loopholes. By formatting and reinstalling Windows, you eliminate all potential threats and vulnerabilities, ensuring your system is updated, secure, and reliable. This process also enhances your device’s overall performance and longevity.
Backup Your Data Before Formatting
Formatting permanently erases all data from your system drive (usually the C: drive). Therefore, it is important to back up your important files before starting.
You can store your backup on:
-
An external hard drive or SSD
-
A USB flash drive (at least 16 GB recommended)
-
Cloud storage platforms like Google Drive, OneDrive, or Dropbox
Ensure that you copy documents, photos, videos, downloads, and other personal files. Also, make a note of any software license keys, bookmarks, and saved passwords.
What You’ll Need
Before reinstalling Windows, prepare the following items:
-
Bootable USB Drive (8GB or more) – This will contain your Windows installation files.
-
Windows 10 or Windows 11 ISO File – Download the official version from Microsoft’s website: https://www.microsoft.com/software-download/
-
Rufus Tool – A free utility to create a bootable USB drive. Download it from https://rufus.ie
Step 1: Create a Bootable USB Drive
-
Insert your USB drive into the computer.
-
Open Rufus and select your USB device under the “Device” section.
-
In “Boot selection,” choose the downloaded Windows ISO file.
-
Click Start and wait for the process to complete.
Once the process finishes, your USB drive is ready for Windows installation.
Step 2: Boot Your Laptop from USB
-
Connect the bootable USB to your laptop.
-
Restart the laptop.
-
During startup, press the appropriate boot menu key:
-
Dell: F12
-
HP: Esc or F9
-
Lenovo: F12
-
Acer: F12
-
Asus: Esc
-
-
From the boot menu, select the USB drive to begin installation.
Step 3: Start Windows Installation
-
When the Windows Setup screen appears, select your language, time, and keyboard layout.
-
Click Next, then select Install Now.
-
Enter your Windows product key if prompted (or click “I don’t have a product key” to activate later).
-
Choose your Windows edition (Home, Pro, etc.) and accept the license terms.
-
Click Next to continue.
Step 4: Format the Drive and Reinstall Windows
-
You will see a list of available drives and partitions.
-
Select the partition where Windows is currently installed (usually “Drive 0 Partition 1: System”).
-
Click Format, confirm the action, and then select Next.
Windows will now start the installation process. This may take between 15 and 30 minutes depending on your system speed.
Step 5: Complete the Setup
After installation completes, your laptop will restart automatically.
Follow the on-screen instructions to set up Windows:
-
Choose your region and keyboard layout.
-
Connect to Wi-Fi.
-
Create a user account and password.
-
Sign in with your Microsoft account (optional).
Once completed, you’ll enter your new Windows desktop.
Post-Installation Tasks
After reinstalling Windows, perform the following steps to ensure your system runs smoothly:
-
Install Drivers
Visit your laptop manufacturer’s website (HP, Dell, Lenovo, etc.) and download the latest drivers for Wi-Fi, graphics, audio, and chipset. -
Run Windows Update
Open Settings → Windows Update → Check for Updates to download the latest security patches and improvements. -
Install Essential Software
-
Web Browser: Google Chrome, Microsoft Edge, or Firefox
-
Office Suite: Microsoft Office or LibreOffice
-
Media Player: VLC
-
File Compression Tool: WinRAR or 7-Zip
-
Antivirus: Windows Defender or any trusted option
-
-
Restore Your Files
Copy your personal data from your backup to your newly installed Windows.
Tips to Keep Your Laptop Running Smoothly
Once you have formatted your laptop and reinstalled Windows, it’s important to maintain it properly to ensure consistent performance over time. Regular maintenance prevents slowdowns, system errors, and overheating issues that can develop with everyday use. Follow these practical tips to keep your laptop in top condition:
1. Avoid Installing Unnecessary Software
Be selective about the applications you install. Too many programs, especially those that start automatically with Windows, can slow down boot time and overall performance. Install only the software you truly need, and uninstall any programs you rarely use. This keeps your system light, clean, and fast.
2. Clean Temporary and Junk Files Regularly
Over time, Windows accumulates cache files, logs, and other temporary data that consume valuable disk space. Use built-in tools like Disk Cleanup or Storage Sense to automatically delete junk files, system logs, and old updates. For even deeper cleaning, you can use trusted tools such as CCleaner. Regular cleanup ensures your laptop always has free space for smooth operation.
3. Keep Windows and Drivers Updated
Updates not only bring new features but also fix bugs, improve security, and enhance compatibility with software and hardware. Always keep your Windows operating system, drivers, and firmware up to date. Enable automatic updates or check manually every few weeks to stay current. Updated systems perform better and are more secure against vulnerabilities.
4. Ignore Pirated or Unverified Software
Installing cracked or pirated programs might seem tempting, but it can severely harm your system. Such software often contains malware or hidden scripts that compromise performance and privacy. Always download programs from the official websites or trusted sources. Using legitimate software also ensures you receive regular updates and technical support.
5. Manage Startup Programs
Many applications automatically launch when you start your laptop, which can slow down the boot process. Open Task Manager → Startup tab and disable programs you don’t need immediately after startup. This simple step can drastically reduce startup time and improve responsiveness.
6. Keep Your Laptop Cool
Overheating can lead to performance throttling and hardware damage over time. Make sure your laptop has proper ventilation and is used on a flat surface. Clean the air vents regularly to prevent dust buildup. If you use your laptop for long hours or heavy tasks such as gaming or editing, invest in a good-quality cooling pad to maintain optimal temperatures.
7. Use Built-In Security Tools
Windows Defender and built-in firewall protection are sufficient for most users. Keep real-time protection turned on and run occasional scans to remove threats. Avoid installing multiple antivirus programs at once, as they can conflict and slow down your system.
8. Perform Routine Maintenance
At least once a month, check for system updates, clean up unnecessary files, and create a restore point. These small habits can prevent sudden crashes and keep your system performing like new.
By following these maintenance tips, you can ensure your freshly installed Windows laptop remains fast, reliable, and secure for years. A little care and consistency go a long way toward preserving performance and extending the lifespan of your device.
Conclusion
Reinstalling Windows may sound like a complex or risky process, but in reality, it is one of the most effective ways to restore your laptop’s performance and stability. Over time, every system accumulates unnecessary files, software conflicts, and hidden issues that slow it down. By performing a clean format and reinstalling Windows, you completely remove these problems and give your device a fresh, stable foundation to operate smoothly.
A properly formatted laptop not only runs faster but also becomes more secure. It eliminates malware, corrupted files, and registry errors that often go unnoticed. After reinstalling Windows, your laptop boots quicker, performs tasks more efficiently, and feels just like new — without the need to buy new hardware.
This guide has walked you through each stage of the process — from taking backups and creating a bootable USB, to installing Windows and setting up your system afterward. Even if you are a beginner, following these steps carefully ensures a safe and successful installation without data loss or technical complications.
So, the next time your laptop starts to lag, freeze, or behave unpredictably, don’t panic or rush to a service center. With a little time and preparation, you can format your laptop and reinstall Windows easily right at home. Doing this once every year or two keeps your system clean, secure, and performing at its best for a long time.
Related Post’s
-
WiFi Not Working on Laptop – Step by Step Solution
-
Best Laptop Cooling Pads to Reduce Heating Issues
-
How to Upgrade RAM in Laptop – Complete Guide
-
Top 10 Laptop Keyboard Shortcuts You Must Know
-
Essential Laptop Maintenance Tips to Keep It Fast and Secure
-
Laptop की Speed कैसे बढ़ाएं – How Computer Performance Boost
-
Best Free Software Every Laptop User Must Have
-
SSD vs HDD – Which is Better for Laptop Performance